Intro
Sometimes, I just can’t think of an original dataset to try a new API with.
Luckily, this time I had screenshots from the games I’ve enjoyed playing at hand.
My plan was to focus on learning more about the available Flutter Gradients.
I believe that subtle use of gradients in the correct context is crucial in making a good app - a great app.
So, it’s definitely “a good have” in Flutter enthusiast’s toolset!
So the plan is set – combine Flutter gradients with my game screenshots into an experiment we’ll call ‘Game Gallery’.
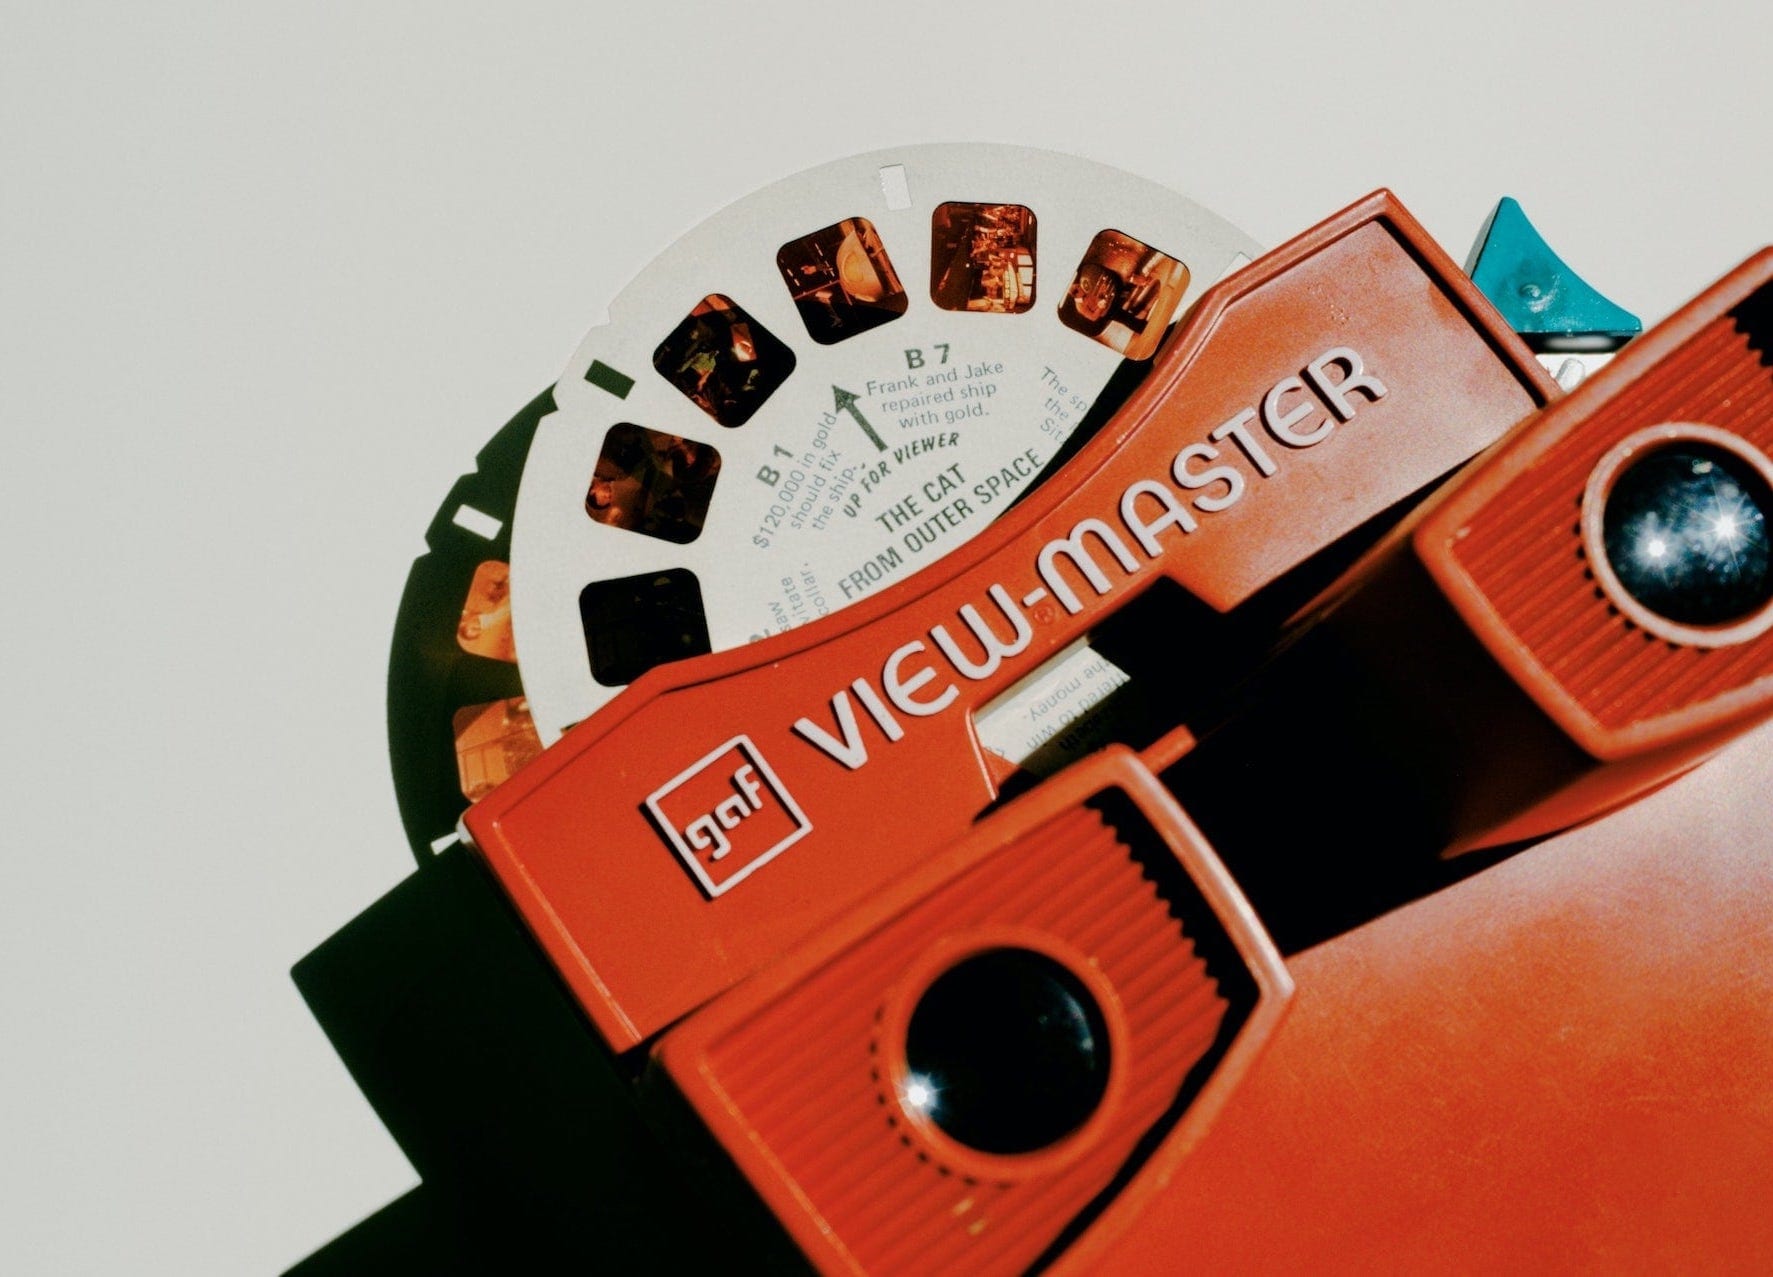
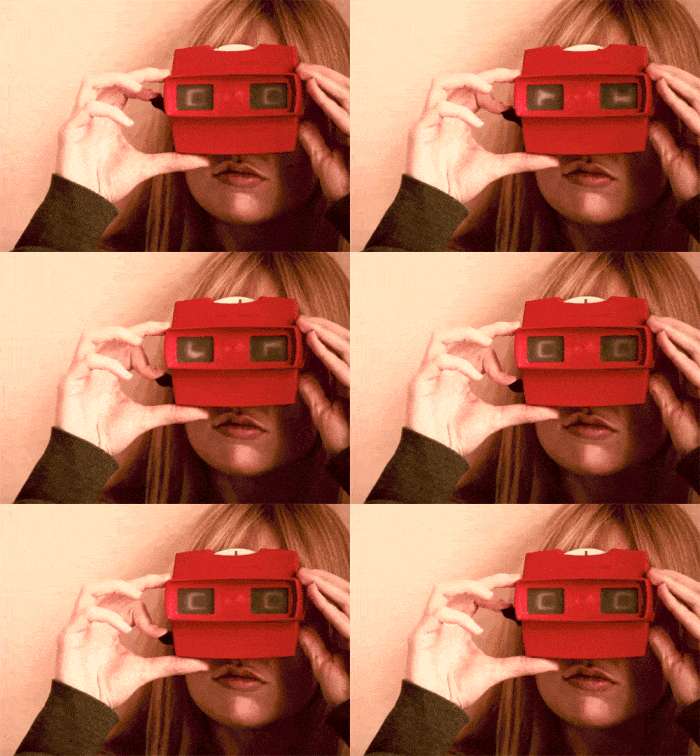
Oh, and I’ll borrow some mechanics from the old-school View-Master reels for the motion implementation 👇
My goal here is merely to make gradients more appealing by providing a high-level overview – the rest will be up to your curiosity.
Continue reading or skip straight to the Game Gallery demo.
Gradients in Flutter: The nuts and bolts
In Flutter, you’ll find 3 main gradient implementations available: LinearGradient, RadialGradient and SweepGradient. We’ll next familiarise ourselves with each of them to grasp some of their capabilities & develop a better intuition for their possible applications.
Animations & Interpolation
AnimatedContainer widget can be beneficial to speeding up the animations development process or save you some boilerplate in production code.
If it doesn’t ring a bell, there’s an intro Widget of the Week video on it.
You can use the code template below to experiment with gradients as decoration for the AnimatedContainer yourself. Just be sure to use it in a hot-reload-capable environment, as putting the code in DartPad or Codepen won’t hot-reload, and you’ll miss out on getting the visual feedback on the spot!
Show code
import 'dart:math';
import 'package:flutter/material.dart';

void main() {
  runApp(GradientDemo());
}

class GradientDemo extends StatelessWidget {
  @override
  Widget build(BuildContext context) {
    return AnimatedContainer(
    // Experiment with different animation durations
    duration: const Duration(milliseconds: 2500),
    // Experiment with different interpolation curves
    curve: Curves.easeInOutCubicEmphasized,
    // Experiment with different gradients in _getGradient()
    decoration: BoxDecoration(gradient: _getGradient()),
    );
  }

  Gradient? _getGradient() {
    return null; // TODO replace with your own gradient
  }
}
LinearGradient
LinearGradient requires a colors object list to work.
Don’t forget you can also use begin, end, and stops parameters to get creative.
Show code
  Gradient? _getGradient() {
    // Comment-out one by one top-to-bottom
    return null;
    return const LinearGradient(colors: [Colors.black, Colors.deepPurple, Colors.red], begin: Alignment.topLeft, end: Alignment.bottomRight, stops: null,);
    return const LinearGradient(colors: [Colors.black, Colors.redAccent, Colors.pink, Colors.black], begin: Alignment.centerLeft, end: Alignment.bottomCenter, stops: [0.0, 0.2, 0.8, 1.0],);
    return const LinearGradient(colors: [Colors.black, Colors.red, Colors.deepPurple], begin: Alignment.topLeft, end: Alignment.bottomRight, stops: null,);
    return const LinearGradient(colors: [Colors.black, Colors.red, Colors.deepPurple], begin: Alignment.centerLeft, end: Alignment.centerRight, stops: null,);
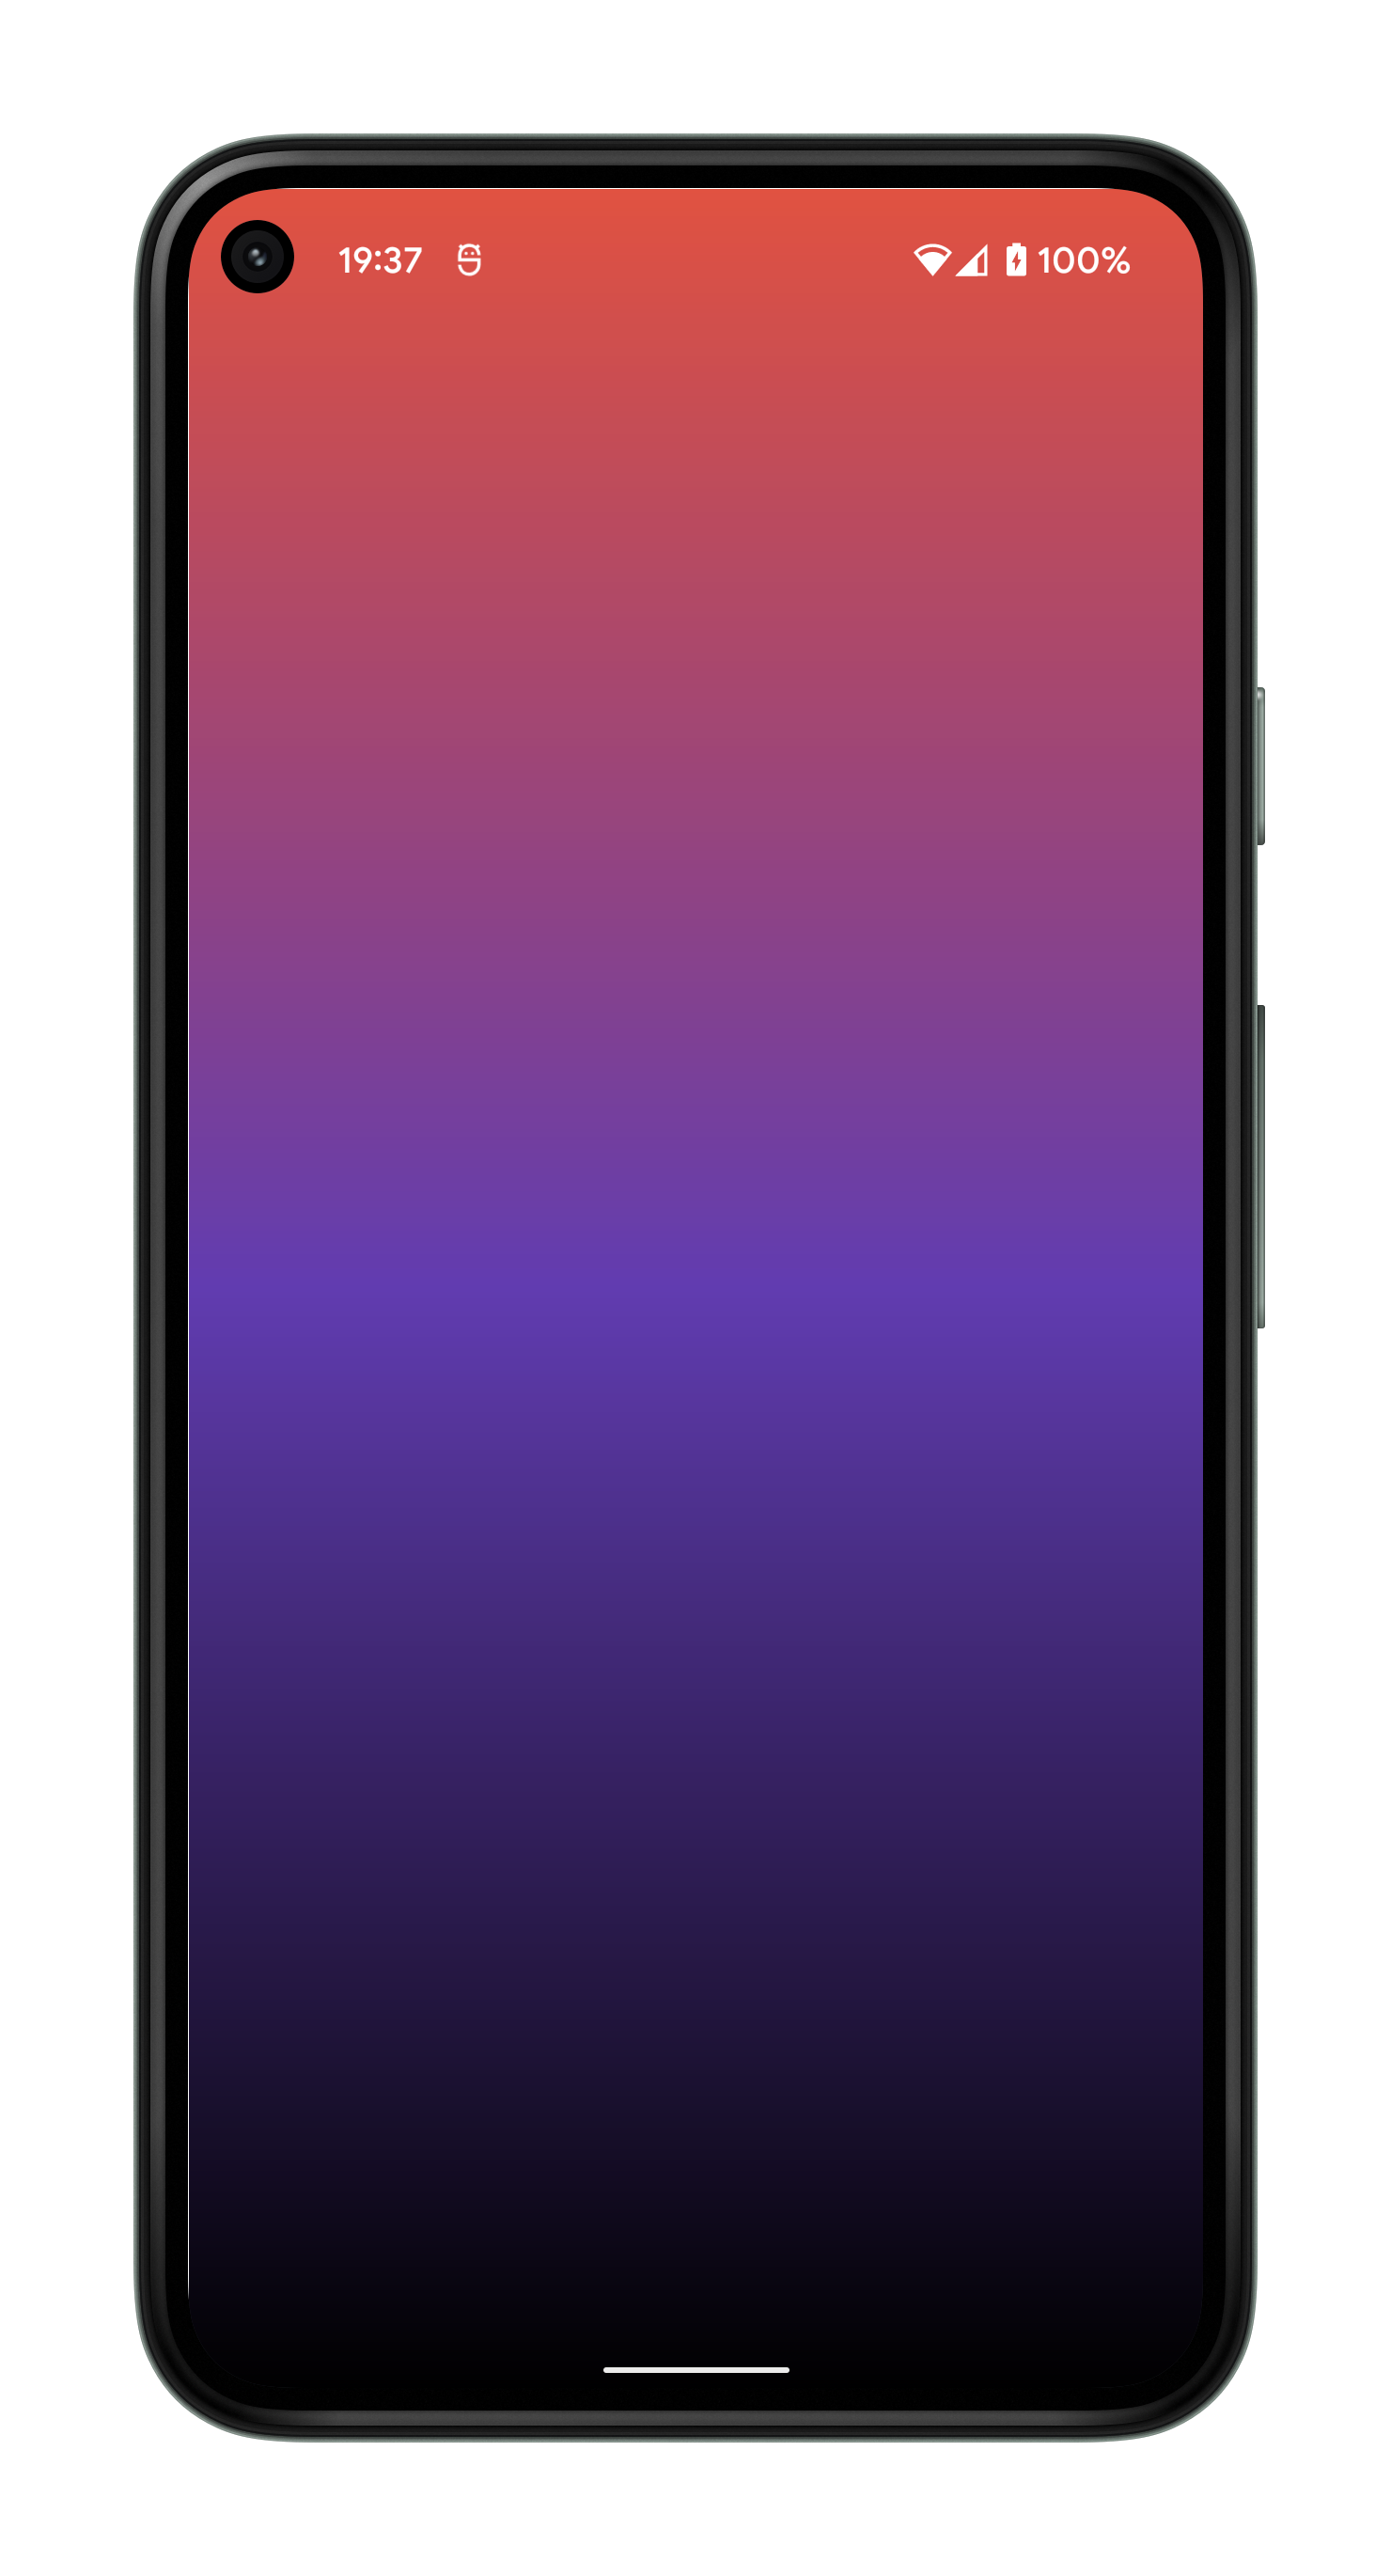
    return const LinearGradient(colors: [Colors.red, Colors.deepPurple, Colors.black], begin: Alignment.topCenter, end: Alignment.bottomCenter, stops: null,);
    return null;
  }
RadialGradient
Just like LinearGradient, the RadialGradient also requires the colors list parameter.
RadialGradient has center, radius, stops and other parameters to tinker with.
Show code
  Gradient? _getGradient() {
    // Comment-out one by one top-to-bottom
    return null;
    return const RadialGradient(colors: [Color(0xFF13D9D9), Color(0xFF6218CE), Color(0xFF1C0642), Color(0xFF000000),], stops: [0.0, 0.25, 0.7, 1.0], focal: Alignment(0.0, 0.4));
    return const RadialGradient(colors: [Color(0xFFFF6FE6), Color(0xFFF11F0C), Color(0xFF2DA2F6), Color(0xFF000000),], focal: Alignment(0.4, 0.0));
    return const RadialGradient(colors: [Color(0xFFFFFFFF), Color(0xFFFF6FE6), Color(0xFF0057E2), Color(0x00000000), Color(0x00000000),], radius: 2);
    return const RadialGradient(colors: [Color(0x0040B2E7), Color(0xFF40B2E7), Color(0xFF000000),]);
    return const RadialGradient(colors: [Color(0x00000000), Color(0xFF40B2E7), Color(0xFF000000), Color(0xFF000000),]);
    return null;
  }
SweepGradient
Same as previously, the colors list parameter will get you started with the SweepGradient.
Then, you can utilise optional startAngle, endAngle, center, stops and other parameters.
Show code
  Gradient? _getGradient() {
    // Comment-out one by one top-to-bottom
    return null;
    return const SweepGradient(colors: [Colors.black, Colors.white,]);
    return const SweepGradient(colors: [Colors.white, Colors.black,]);
    return const SweepGradient(endAngle: pi/64, colors: [Colors.white, Colors.black,]);
    return const SweepGradient(startAngle: 0.0, endAngle: pi/4, colors: [Colors.red, Colors.orange, Colors.yellow, Colors.green, Colors.blue, Colors.indigo, Colors.black,]);
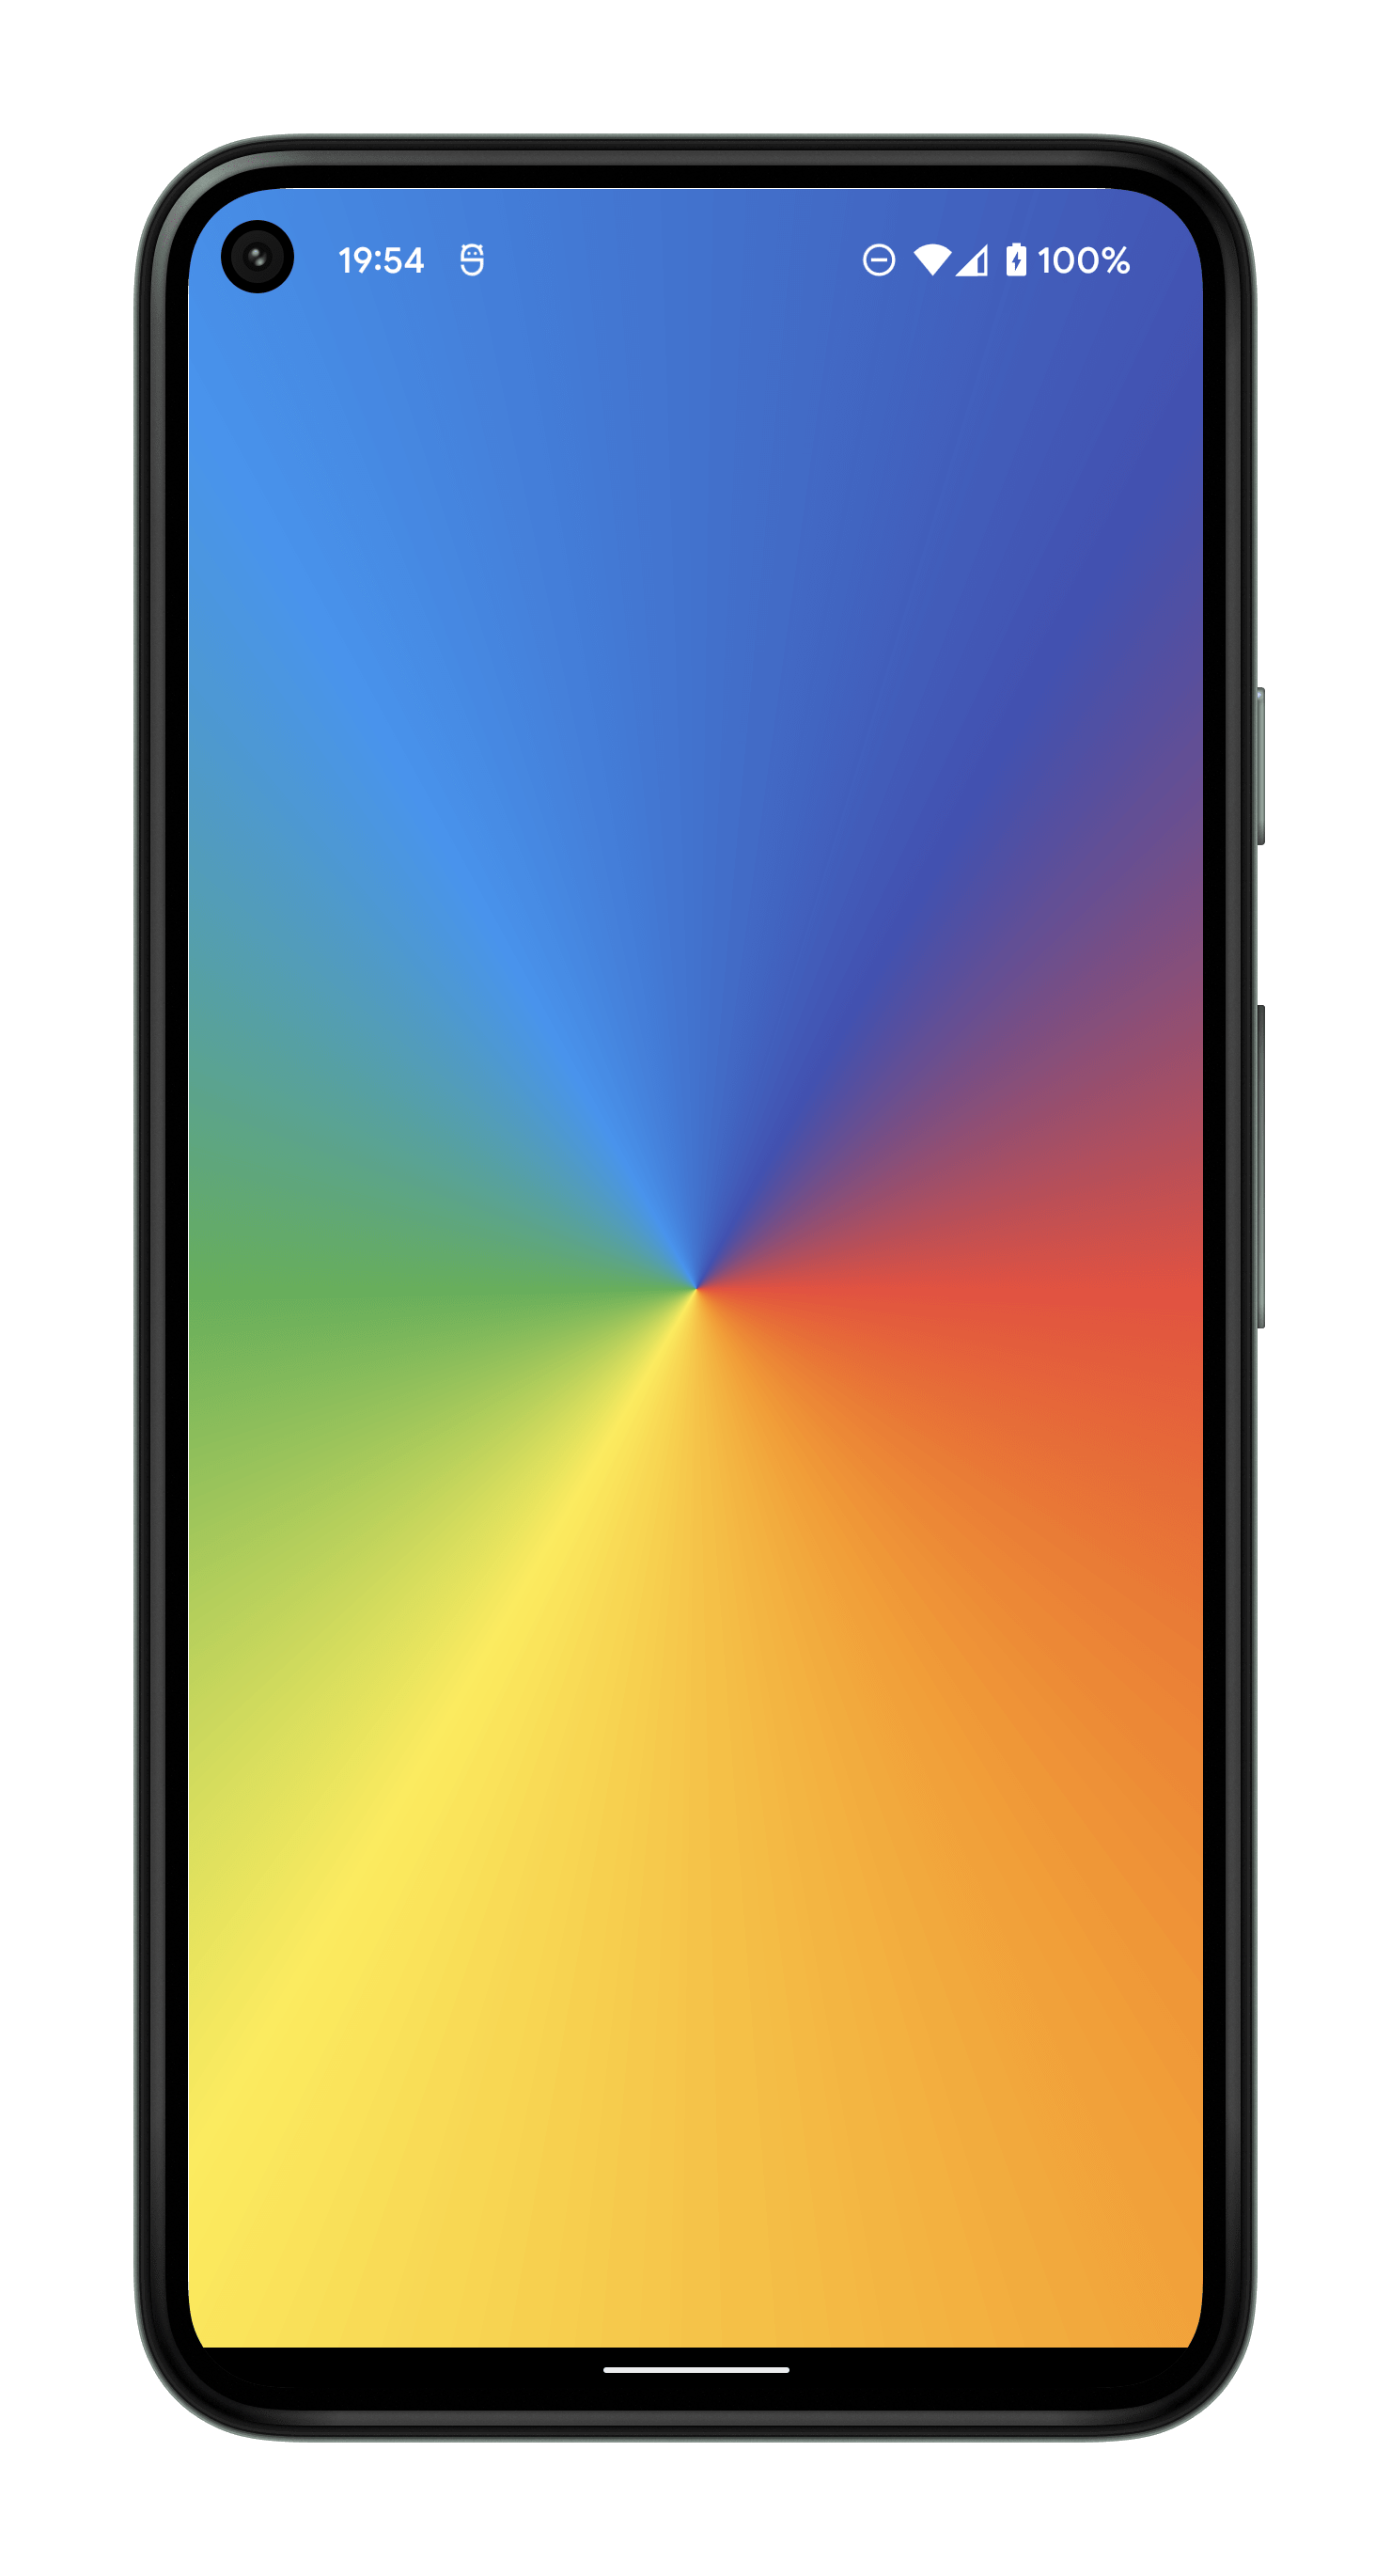
    return const SweepGradient(colors: [Colors.red, Colors.orange, Colors.yellow, Colors.green, Colors.blue, Colors.indigo, Colors.red,]);
    return const SweepGradient(colors: [Colors.red, Colors.black, Colors.orange, Colors.black, Colors.yellow, Colors.black, Colors.green, Colors.black, Colors.blue, Colors.black, Colors.indigo, Colors.black, Colors.red,]);
    return null;
  }
The ‘Game Gallery’ experiment
In the Game Gallery, the images and gradients are dynamically fetched from serverless Firebase Firestore & Storage.
Such an approach could be adapted on larger-scale products, as long as the gradient data stored on the server-side can be interpreted and converter to Flutter constructs by the client.
See it in action 👀
Interactive demo - Try it out 🧙
Try it on Web
What’s Next?
💡 If by now you’re familiar enough with gradients and are still up for a challenge – the ShaderMask widget may be just the right next step for your own tinkering journey. Get imaginative!
Pop Quiz! 🤔
❓ Can you guess what’s going to happen when you instruct Flutter to interpolate/lerp between different types of gradients?
It’s good to know your lerps, so glance over the code sequence and try to imagine the difference between the same & different gradient type transitions before examining the video below.
Show code
import 'dart:math';
import 'package:flutter/material.dart';

void main() {
  runApp(GradientDemo());
}

class GradientDemo extends StatelessWidget {

  Gradient? _getGradient() {
    // The gradient sequence. Comment-out one by one top-to-bottom
    return null;
    return const LinearGradient(colors: [Colors.black, Colors.deepPurple, Colors.red], begin: Alignment.topLeft, end: Alignment.bottomRight, stops: null,);
    return const LinearGradient(colors: [Colors.red, Colors.deepPurple, Colors.black], begin: Alignment.topCenter, end: Alignment.bottomCenter, stops: null,);
    return const RadialGradient(colors: [Color(0xFFFF6FE6), Color(0xFFF11F0C), Color(0xFF2DA2F6), Color(0xFF000000),], focal: Alignment(0.4, 0.0));
    return const RadialGradient(colors: [Color(0xFF000000), Color(0xFF40B2E7), Color(0xFF000000), Color(0xFF000000),]);
    return const SweepGradient(startAngle: 0.0, endAngle: pi/4, colors: [Colors.red, Colors.orange, Colors.yellow, Colors.green, Colors.blue, Colors.indigo, Colors.black,]);
    return const SweepGradient(colors: [Colors.red, Colors.orange, Colors.yellow, Colors.green, Colors.blue, Colors.indigo, Colors.red,]);
    return null;
  }

  @override
  Widget build(BuildContext context) {
    // Added a GREEN-colored outer container
    return Container(
      color: Colors.greenAccent,
      child: Center(
        // Shrunk gradient-decorated container into a smaller YELLOW square
        child: AnimatedContainer(
          width: 700,
          height: 700,
          duration: const Duration(milliseconds: 5000),
          curve: Curves.linear,
          decoration: BoxDecoration(gradient: _getGradient(), color: Colors.yellowAccent),
        ),
      ),
    );
  }
}
Takeaways
- Spice your app up with gradients! Don’t overuse them by adding one on everything, though. When used sensibly, they will help the application stand out and deliver a better UX.
- When using animations, don’t underestimate the curve parameter. Many widgets will default to using the linear curve. Adding accelerated motion in your app may help to make it feel more dynamic and natural.
- Be wary of how animation transitions between different gradient types might look to avoid negatively impacting the user experience.
It’s a wrap
Thanks for stopping by!
Have you spotted your favourite game in the Game Gallery? 🤔
Let me know on Twitter! 🐦
Attributions
Unsplash Photos by Lorenzo Herrera and Girl with red hat.


